
.svg)
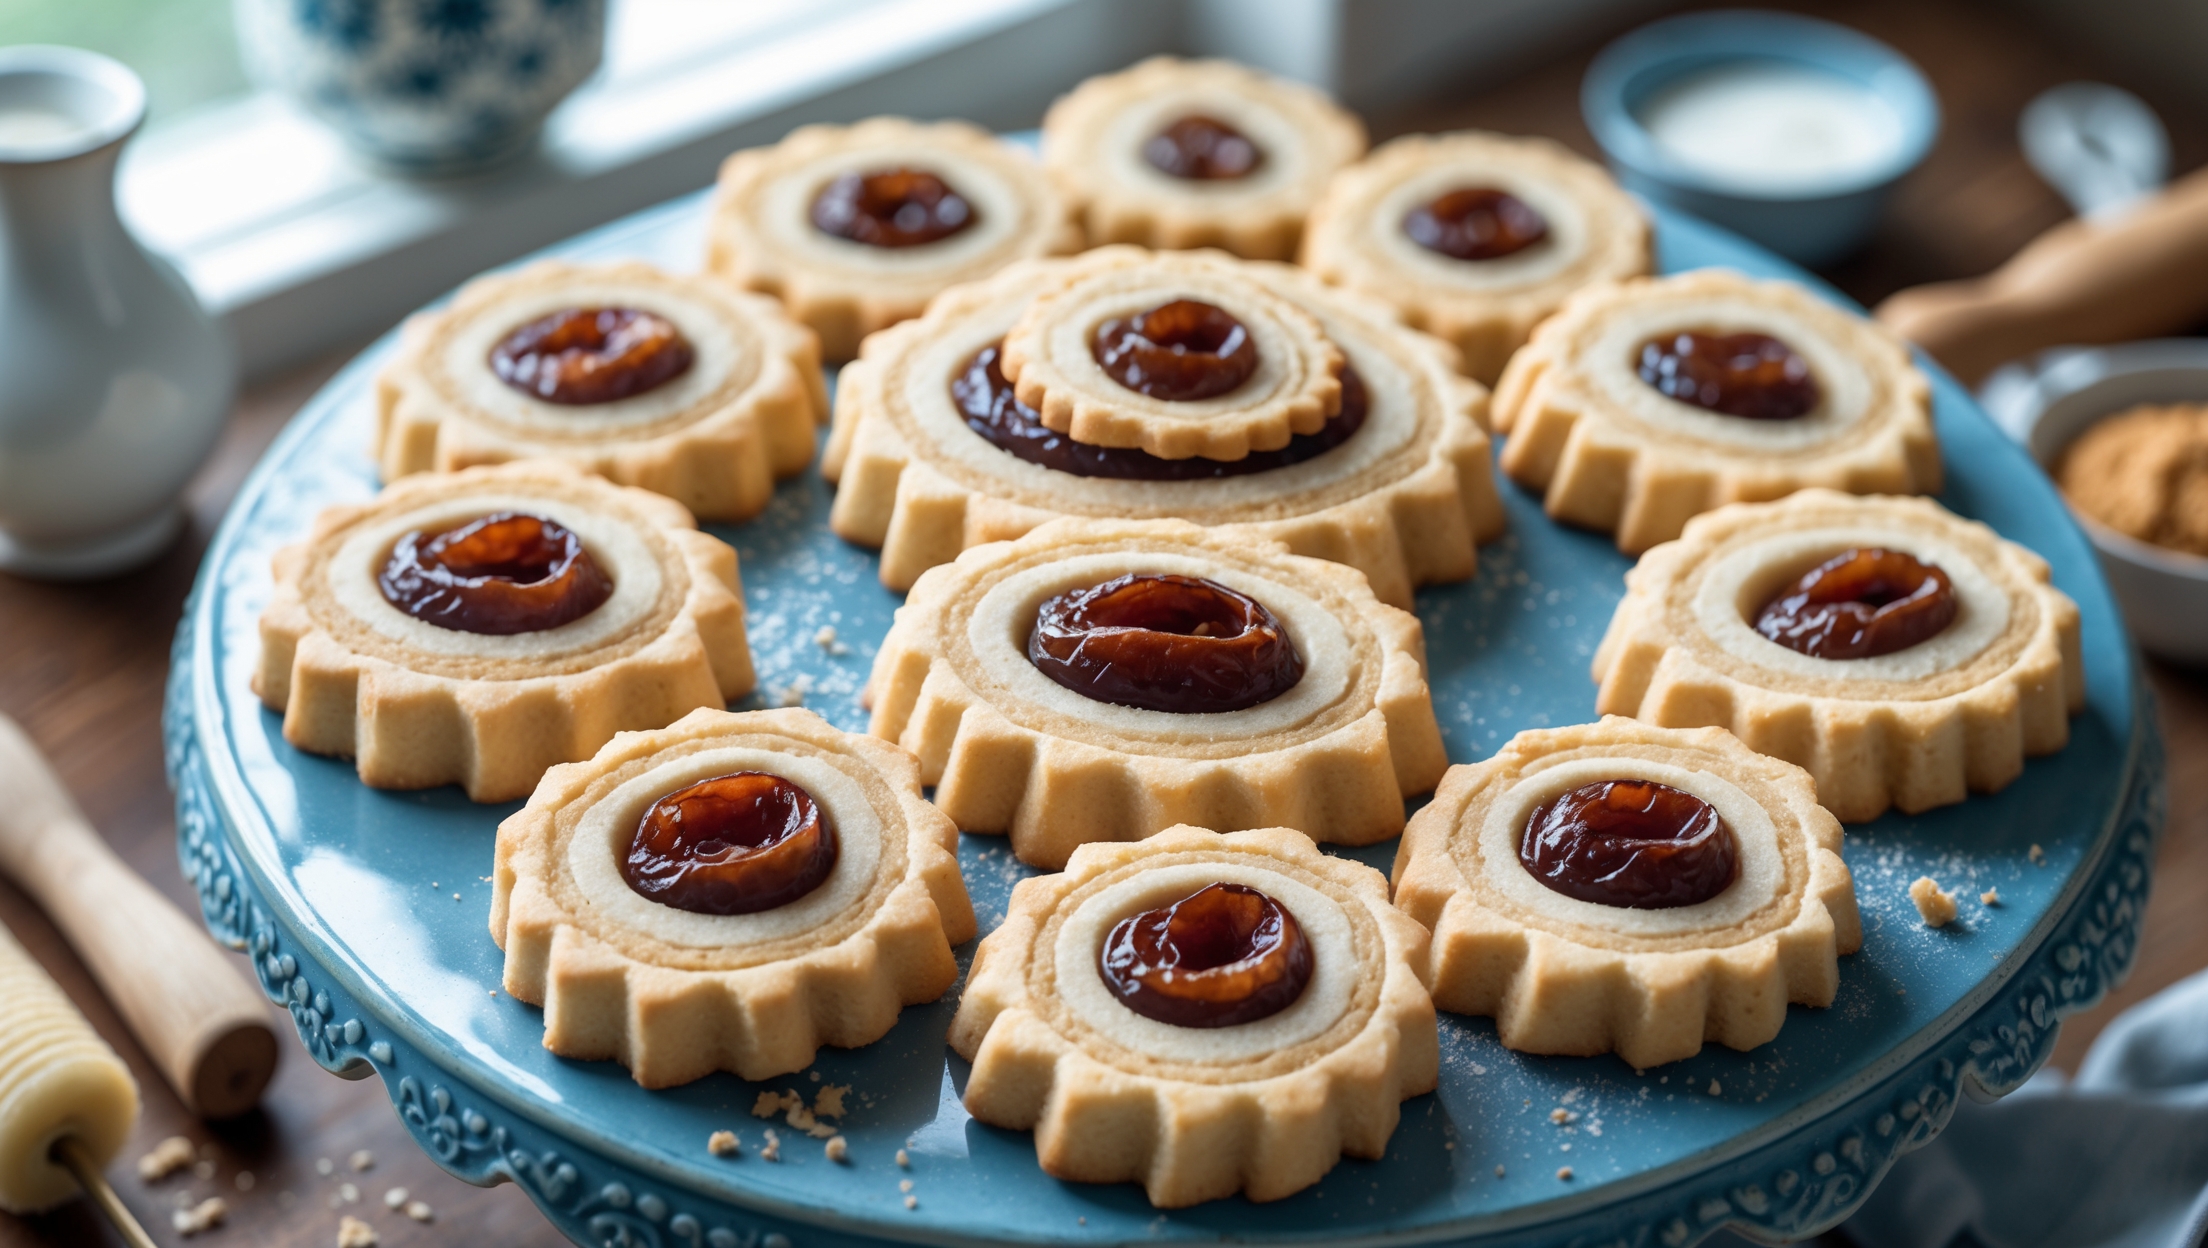
Rolled Date Cookie Recipe
Learn how to make classic rolled date cookies with this quick and easy recipe. These buttery cookies wrapped around a sweet, sticky date filling deliver the perfect balance of textures and flavors. A traditional cookie recipe that's perfect for holiday baking or anytime you crave homemade comfort.
Prep
Cook
Serve
Kcal
What ingredients are used in Rolled Date Cookie Recipe?
This recipe requires all-purpose flour, baking soda, salt, unsalted butter, granulated sugar, egg, vanilla extract, pitted dates, water, brown sugar, optional chopped walnuts or pecans, and ground cinnamon. The combination creates a perfect balance between buttery cookie dough and sweet, sticky date filling.
How to bake Rolled Date Cookie Recipe at home?
Learn how to bake Rolled Date Cookie Recipe by first making a date filling from simmered dates, water, and brown sugar. Create a buttery dough, chill it, then roll it into rectangles. Spread with date filling, roll into logs, chill again, slice into rounds, and bake at 375°F for 10-12 minutes until golden. The result is tender cookies with caramelised date centres.
Can I make the date filling and dough ahead of time?
Absolutely! The date filling can be made up to 3 days ahead and stored in the refrigerator. The cookie dough can be prepared, shaped into logs with filling, wrapped tightly in cling film, and refrigerated for up to 2 days or frozen for up to a month before slicing and baking.
What's the best way to store these pinwheel cookies to keep them fresh?
Store your baked date cookies in an airtight container at room temperature for up to 5 days. Place a piece of bread in the container to maintain moisture, or separate layers with baking parchment. For longer storage, freeze baked cookies for up to 3 months in a sealed container.
Can I substitute the dates with other dried fruits in this recipe?
Yes, you can replace dates with dried figs, prunes, apricots, or a mixture of dried fruits. Simply chop them finely and follow the same cooking method. You may need to adjust sweetness, as dates are naturally sweeter than some other dried fruits.